Before Using
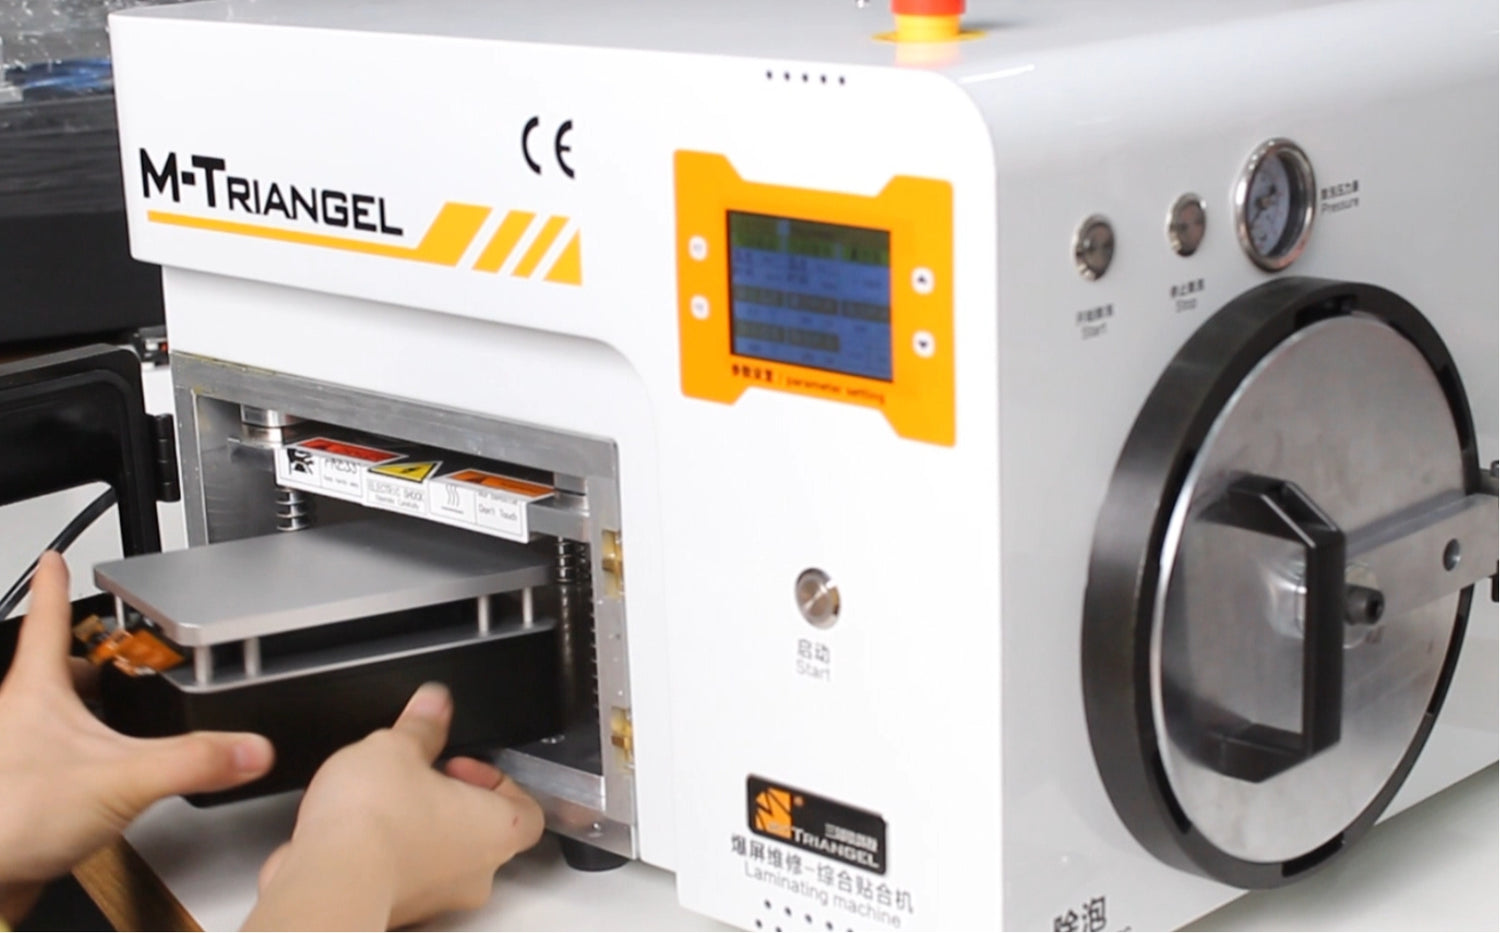
Plug in and open the power switch, rotate clockwise the red emergency button half-circle until it automatically pops up. After that, the laminating function can work normally. Pressing the emergency button, however, is to disconnect the laminating function or stop the working machine for emergency.

* The emergency switch only affects the laminating function but not the control of the debubbler.
Parameter Setting
Check the setting on the screen: Laminating temperature: 40℃; Vacuum time: 30s; Laminating time: 30s; Debubbling temperature: 40℃.

*Attention: They are factory settings, please don’t adjust them by yourself. If you want to adjust them, please contact the original manufacturer.
Lamination of Curved Screen
(1) Use the curve screen aligning mold. Locate the LCD on the mold and wipe it clean.


(2) Cover the glass on the LCD in right place with the help of the mold.


* Be aware that the glass should cover the LCD immediately after OCA is torn off, and the surface of the mold and the glass should be kept clean before bonding, so as to avoid dust entering. After the covering, please do not press the mold with force, and you only need to cover it gently and can directly put it into the laminating cabin, which is extremely important!
(3) Put the mold into the cabin, and the flex cable should face outside. Then close the door.


*Attention: Please put the flex cable out of the range of the silicon plate, or it will break the flex cable.(If you have any questions, please contact our after-sale technicians.)
Press start button for full automatic laminating.

*Attention: Make sure the red emergency button popping up.
(5)After starting, it’s normal that the vacuum data on the right of the screen will go up. If not, please contact technicians for help.

*Effect of vacuuming will be influenced by altitude, and when the data is above -88, it will have the best vacuuming effect.
- Normally, the air will be released by 30s vacuum time, and then the laminating plate will slowly press down with pressure of 5-6kg. After 30s laminating time, the plate will rise up and the vacuum meter go zero. Then the door can be opened to take the screen out.

- The screen need test after lamination.
Debubbling
-
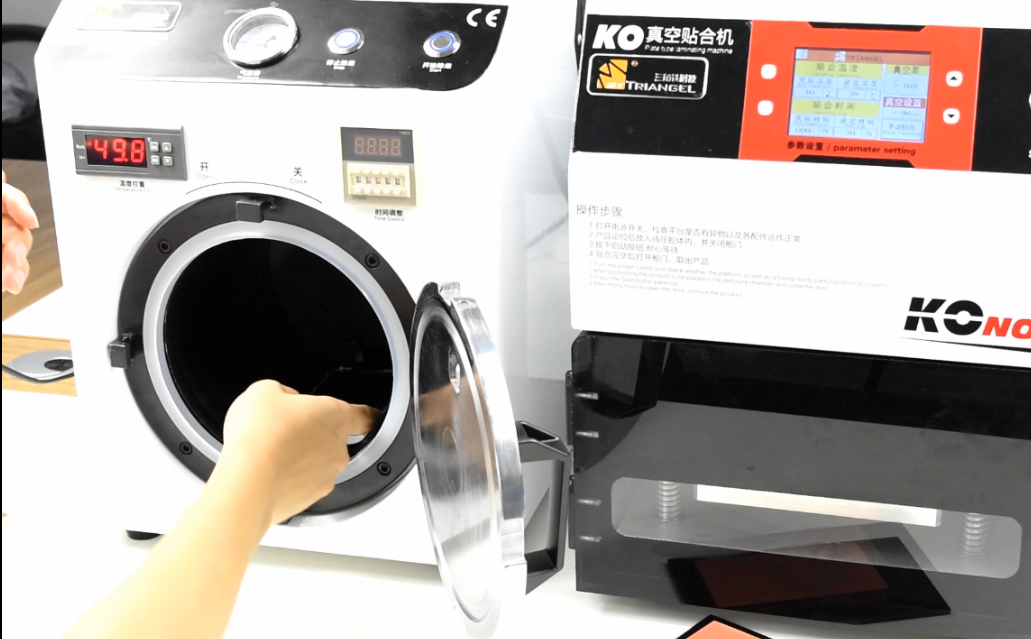
Hold the handle and counterclockwise rotate it from the right to the left to open the door.

* Attention: Before open the door each time, please make sure that there is no gas inside the cabin. Checking method: the pressure goes to zero.
Put the screen into the cabin and close the door.

* Watch the pressure gauge during debubbling and make sure no air leakage
- Click start button for debubbling , and wait until it automatically release the air and finish debubbling. Then, open the door.

*After pressing the start button, the debubbler will keep the pressure of 8kg for 10mins. Debbubling time can be adjusted according to the size of bubbles, at least 10-20mins;
When power failure, the air inside the jar can be manually released through a red pull ring.
Take out the screen and check the display and the touch.
*Attention: Before open the debubbler door each time, please make sure that there is no gas inside the cabin. Checking method: the pressure goes to zero.
quipment Maintenance
|
Items |
Notes |
|
Cabin |
Keep it clean and make sure no clutter |
|
Service Life |
Turn off the power when you don’t use it. |
|
Radiator |
Clean it regularly to stay clean. |


